html 태그를 입혀주는 ckeditor를 django library로 구현
이용 라이브러리: https://github.com/django-ckeditor/django-ckeditor
설치 및 실행
pip install django-ckeditor
INSTALLED_APPS 추가
# settings.py
INSTALLED_APPS = [
	...,
    'ckeditor',
    'ckeditor_uploader'	# 이미지 업로드를 위해 필요(browse server를 통해 embeding할 이미지 찾는데 쓰임
]
이미지가 upload될 ckeditor path 설정
# settings.py
CKEDITOR_UPLOAD_PATH = 'uploads/'
이미지 upload시 필요한 url 등록 및 이미지 등록 UI를 화면에 나타내기 위한 static url 추가
urls.py
from django.conf import settings
from django.conf.urls.static import static
from django.urls import path, include

urlpatterns = [
    ...,
    path('ckeditor/', include('ckeditor_uploader.urls')),		# url 등록: 이미지 업로드 template이 있는 url
] + static(settings.MEDIA_URL, document_root=settings.MEDIA_ROOT)	# 해당 이미지를 정상적으로 UI에 나타내기 위해서 필요: media 파일 경로 등록시의 방법과 동일
models.py에서 ckeditor 관련 field 이용
...
from ckeditor_uploader.fields import RichTextUploadingField


class Blog(models.Model):
    ...
    description = RichTextUploadingField(blank=True,null=True)
이후 migration
python manage.py makemigrations
python manage.py migrate
forms.py에서 ModelForm 작성
from django import forms
from .models import Blog


class BlogPost(forms.ModelForm):
    class Meta:
        model = Blog
        fields = [... , 'description']
생성 template (with form)
<form method="POST" action="my_url">
  {% csrf_token %}

  {{form.media}}	<!--이 부분이 있어야 ekeditor 탭들이 활성화 -->
  {{form.as_p}}

  <button>SUbmit</button>
</form>
위의 form을 통해 받은 데이터를 통해 blog table에 데이터 로우 생성 (생략)
읽기 template
{{ blog.description|safe }}html 태그가 string이 아닌 html tag로 인식이 되도록 |safe 필터 적용

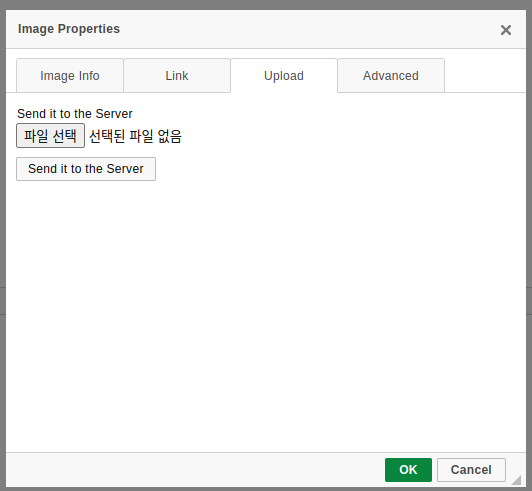
위에서 이미지 아이콘 클릭

파일 선택으로 이미지 업로드 -> Send it to the Server로 Django 서버에 image 전송
-> settings.py에 설정한 CKEDITOR_UPLOAD_PATH = 'uploads/' 에 연/월/일 경로로 저장됩니다.\
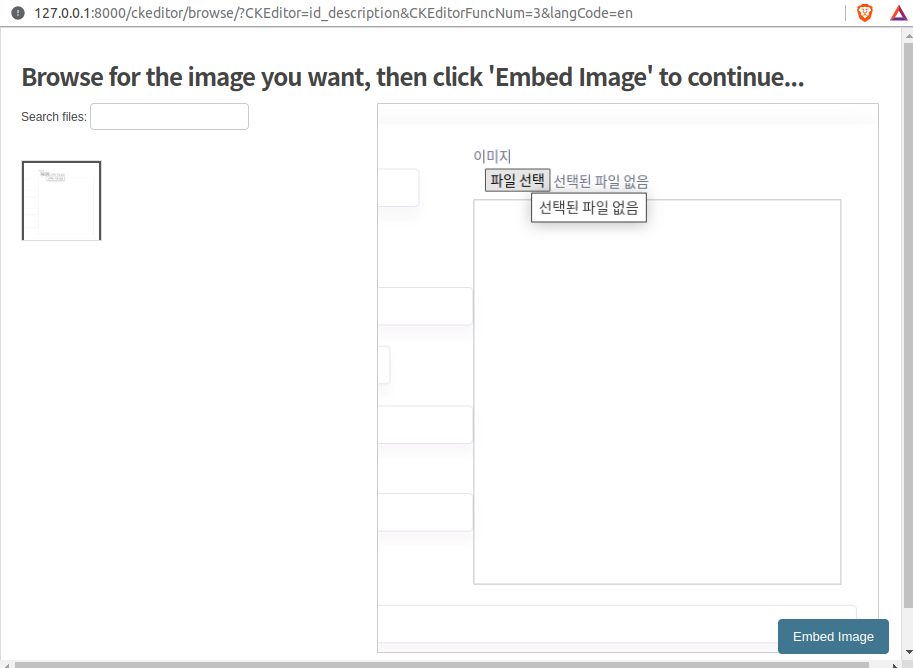
저장된 이미지를 링크 형태로 embeding
아래와 같이 emebeding 할 이미지를 찾을 수 있습니다.


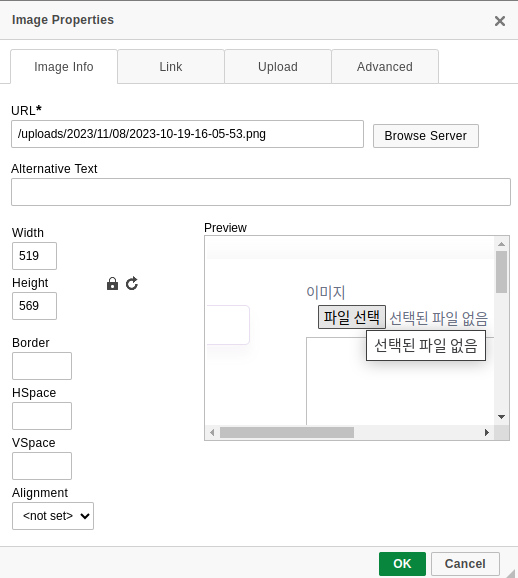
이미지 사이즈 등을 설정하고 OK 클릭

위와 같이 textarea 안에 반영됩니다.
수정뷰 (수정시 form에 기존 정보를 채우기 위한 코드)
from django.shortcuts import render
from .models import Blog
from .forms import BlogPost


def test(request):
    item = Blog.objects.get(SOME CONDITION)
    form = BlogPost(instance=item)	# Form에 instance를 담아주기
    return render(request, 'test.html', {'form': form})
* 기본적으로 admin 유저로 로그인 되어야 이용 가능
is_staff = True로 설정되어 있어야 함 (default 설정이 is_supersuer가 아니라 is_staff = True 이어야 함)
이를 해제하기 위한 설정, 그 외 업로드 될 파일 이름 변경, 화면 커스텀 등은 library의 공식 문서 참조
* Javascript
editor 안의 내용을 Javascript로 뽑아내야 하는 경우에는 다음과 같이 하면 된다.
<script src="https://cdn.ckeditor.com/4.16.2/standard/ckeditor.js"></script>
<script>
    CKEDITOR.replace('id_content');  // 'id_content'는 실제 나의 form id로 바꾸기
    function getContent() {
        var editor = CKEDITOR.instances.id_content;  // 'id_content' 부분 실제 내가 정한 ID로 변경
        var content = editor.getData();
        console.log(content);
    }
</script>
참고자료:
'Python > Django' 카테고리의 다른 글
| Python Django: symmetrical option in ManyToMany # ManyToMany에서 한쪽만 관계 설정 # 테이블 자신을 참조하는 경우 (2) | 2023.10.16 |
|---|---|
| Django: HTTP DELETE Method # HTTP # DELETE, PUT # GET, POST (0) | 2023.09.25 |
| Python Django: select_related (0) | 2023.05.09 |
| Python Django: 동시 접속 로그인 막기 # session # session_key (0) | 2023.04.30 |
| Python Django - request session 이용하기 # get 에서 post로 data 넘기기 (1) | 2023.04.28 |